Overview
The Fluke 376FC is a Bluetooth wireless AC/DC clamp meter which communicates over the BLE protocol using a proprietary mobile application interface. As of writing this article there is no known desktop application or API for interfacing to this unit. Therefore the goal is to produce a working interface which connects to the unit and allows a user to interface to the device remotely from a PC.
This software was developed August 2024 and was tested against:
- Factory new Fluke 376FC purchased from an authorized retailer
- Device name: 376FC
- Firmware version: V0.3.9
- BLE Radio: 00.00.25
>>> Download ClampConnect.zip <<<
Disclaimer
There are no guarantees here that this will work with your device as I do not have additional samples to test with. Additionally, Fluke is a registered trademark of the Fluke company. Use at your own risk as this is third party software.
Table of Contents
- Overview
- Initial Discovery Process
- Basic Example
- Qt Example
- Happy Coding
- Bonus Bluetooth Tips
- Action Shots
Initial Discovery Process
The first place to start is with Bleak. Bleak is a Python library that allows you to interface with Bluetooth devices. Within the Bleak examples Github there are a few utilities that can be used to probe Bluetooth services. Of particular use was discover.py and service_explorer.py
Bluetooth Scanning
Next we need to scan for Bluetooth devices to see if we can find some information such as the MAC address, and relevant UUIDs. Thankfully, the Bleak team has already done this for us and provides us with the handy discover.py script.
>discover.py
scanning for 5 seconds, please wait..
[...]
84:C6:XX:XX:XX:XX: 376FC
------------------------
AdvertisementData(local_name='376FC', service_uuids=['b6981800-7562-11e2-b50d-00163e46f8fe'], tx_power=0, rssi=-71)
[...]
The discovery.py script allows us to probe for available devices. This particular device was relatively easy to find since it announces its name. Now that we have some information about the service UUIDs and the MAC address we can try to use the service explorer to find more information about available information we can retrieve from the device.
Service Exploration
Now that we have the MAC address of the meter as well as some other pertinent information we can now try to explore the available services of the device to see if we can find any additional data.
This is where we now switch to service_explorer.py. In this initial project we will use the name of the device to connect. This allows the script to be more generic and hopefully function with additional clamp meters without having to dig to find a MAC address.
>service_explorer.py --name 376FC

2024-08-05 20:22:46,357 __main__ INFO: starting scan...
2024-08-05 20:22:54,534 __main__ INFO: connecting to device...
2024-08-05 20:23:02,621 __main__ INFO: connected
2024-08-05 20:23:02,622 __main__ INFO: [Service] 00001800-0000-1000-8000-00805f9b34fb (Handle: 1): Generic Access Profile
2024-08-05 20:23:02,755 __main__ INFO:   [Characteristic] 00002a00-0000-1000-8000-00805f9b34fb (Handle: 2): Device Name (read,write-without-response,write), Value: bytearray(b'376FC'), Max write w/o rsp size: 20
2024-08-05 20:23:02,844 __main__ INFO:   [Characteristic] 00002a01-0000-1000-8000-00805f9b34fb (Handle: 4): Appearance (read), Value: bytearray(b'\x00\x00')
2024-08-05 20:23:02,935 __main__ INFO:   [Characteristic] 00002a02-0000-1000-8000-00805f9b34fb (Handle: 6): Peripheral Privacy Flag (read), Value: bytearray(b'\x00')
2024-08-05 20:23:02,935 __main__ INFO:   [Characteristic] 00002a03-0000-1000-8000-00805f9b34fb (Handle: 8): Reconnection Address (write)
2024-08-05 20:23:03,024 __main__ INFO:   [Characteristic] 00002a04-0000-1000-8000-00805f9b34fb (Handle: 10): Peripheral Preferred Connection Parameters (read), Value: bytearray(b'\x10\x00(\x00\x04\x00\xf4\x01')
2024-08-05 20:23:03,025 __main__ INFO: [Service] 00001801-0000-1000-8000-00805f9b34fb (Handle: 12): Generic Attribute Profile
2024-08-05 20:23:03,029 __main__ INFO:   [Characteristic] 00002a05-0000-1000-8000-00805f9b34fb (Handle: 13): Service Changed (indicate)
2024-08-05 20:23:03,114 __main__ INFO:     [Descriptor] 00002902-0000-1000-8000-00805f9b34fb (Handle: 15): Client Characteristic Configuration, Value: bytearray(b'\x02\x00')
2024-08-05 20:23:03,114 __main__ INFO: [Service] 0000180a-0000-1000-8000-00805f9b34fb (Handle: 16): Device Information
2024-08-05 20:23:03,205 __main__ INFO:   [Characteristic] 00002a24-0000-1000-8000-00805f9b34fb (Handle: 17): Model Number String (read), Value: bytearray(b'FLUKE 376FC')
2024-08-05 20:23:03,383 __main__ INFO:   [Characteristic] 00002a25-0000-1000-8000-00805f9b34fb (Handle: 19): Serial Number String (read), Value: bytearray(<CENSORED>)
2024-08-05 20:23:03,519 __main__ INFO:   [Characteristic] 00002a26-0000-1000-8000-00805f9b34fb (Handle: 21): Firmware Revision String (read), Value: bytearray(b'00.00.25  \x00')
2024-08-05 20:23:03,610 __main__ INFO:   [Characteristic] 00002a28-0000-1000-8000-00805f9b34fb (Handle: 23): Software Revision String (read), Value: bytearray(b'V0.3.9\x00')
2024-08-05 20:23:03,744 __main__ INFO:   [Characteristic] 00002a29-0000-1000-8000-00805f9b34fb (Handle: 25): Manufacturer Name String (read), Value: bytearray(b'Fluke Mfg Co.\x00')
2024-08-05 20:23:03,745 __main__ INFO: [Service] 0000180f-0000-1000-8000-00805f9b34fb (Handle: 27): Battery Service
2024-08-05 20:23:03,879 __main__ INFO:   [Characteristic] 00002a19-0000-1000-8000-00805f9b34fb (Handle: 28): Battery Level (read,notify), Value: bytearray(b'd')
2024-08-05 20:23:03,970 __main__ INFO:     [Descriptor] 00002902-0000-1000-8000-00805f9b34fb (Handle: 30): Client Characteristic Configuration, Value: bytearray(b'\x00\x00')
2024-08-05 20:23:03,971 __main__ INFO: [Service] b6981800-7562-11e2-b50d-00163e46f8fe (Handle: 31): Unknown
2024-08-05 20:23:04,060 __main__ INFO:   [Characteristic] b6982901-7562-11e2-b50d-00163e46f8fe (Handle: 32): Unknown (read,notify), Value: bytearray(b'\x00   0.7 A\x00  dc   ')
[...]
2024-08-05 20:23:06,399 __main__ INFO: disconnecting...
2024-08-05 20:23:09,866 __main__ INFO: disconnected
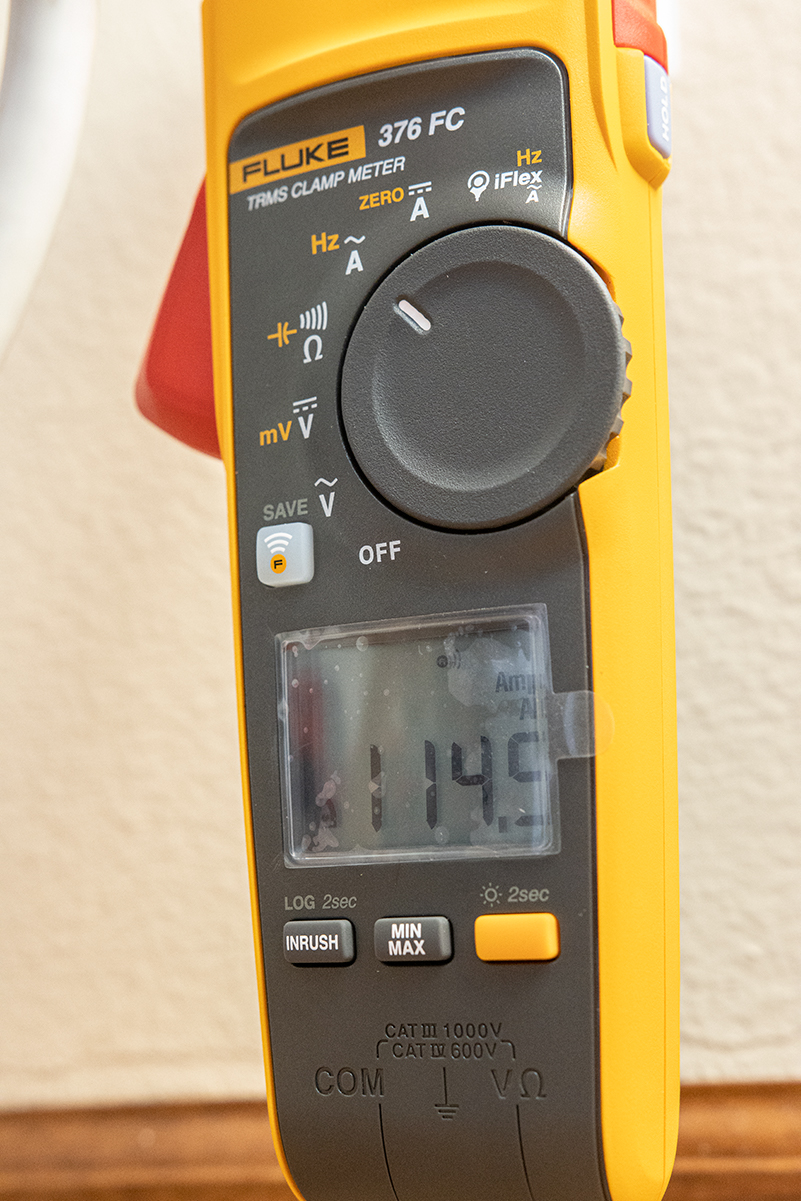
If you look carefully you will see that the current (and other modes as well) is output as a simple string. It appears to simply be a duplication of what is on the display. Cool!
Now all we have to do is write a small script to be able to interface to these values. The eventual plan is to build a graphing and logging application, however, I wanted to release my findings as early as possible to save others from the hassle of initial discovery to lower the barrier to entry.
Basic Example
Now that we can see the data we need actually connect and stream the data to the computer. For this basic example Bleak was used, but later we will implement this with QBluetooth for a Qt6 application example.
import asyncio
from bleak import BleakClient, BleakScanner
# Define the device name and the UUID of the characteristic to subscribe to here
DEVICE_NAME = "376FC"
CHARACTERISTIC_UUID = "b6982901-7562-11e2-b50d-00163e46f8fe"
async def run():
# Scan for devices
devices = await BleakScanner.discover()
# Find the device with the name specified
device = None
for d in devices:
print(d)
if d.name == DEVICE_NAME:
device = d
break
if device is None:
print(f"Device with name '{DEVICE_NAME}' not found.")
return
# Connect to the device
async with BleakClient(device) as client:
print(f"Connected to {DEVICE_NAME}")
# Define a callback function to handle characteristic updates
def callback(sender, data):
print(f"Received data from {sender}: {data}")
print(data.decode('utf-8'))
# Subscribe to the characteristic
await client.start_notify(CHARACTERISTIC_UUID, callback)
# Keep the script running to continue receiving notifications
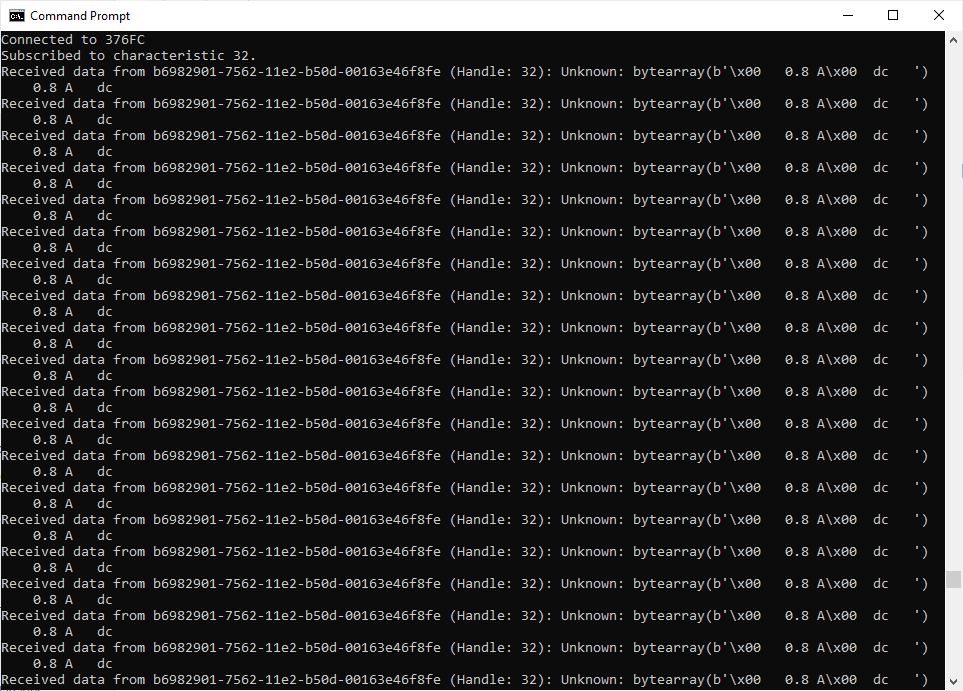
print(f"Subscribed to characteristic {CHARACTERISTIC_UUID}.")
await asyncio.sleep(120) # Run for 120 seconds, or adjust as needed. This is just for testing after all.
# Stop notifications before disconnecting
await client.stop_notify(CHARACTERISTIC_UUID)
if __name__ == "__main__":
asyncio.run(run())
This will then output the device values to the terminal. Now we just have to do some magic to turn these values into something more user friendly.
Connection Timeout:
You may need to run the utility a couple times or adjust the timeout to ensure the device is seen. A maximum of 11 seconds or so might be best.
Qt Example
Now that we have a command line example of data being output it is time to turn that into something slightly more useful. I would like to mention that this is the minimum viable GUI. It is not polished, or tested beyond “hey there’s data!”. This is just enough of an example to get someone familiar with Qt past the basics.
For those unfamiliar Qt is is a cross-platform GUI framework that can be programmed in Python as well as C++. For this example Qt6 was used with Python 3.12.4.
While basic here is what the GUI looks like while measuring AC current:
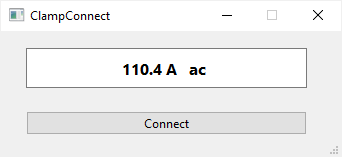
So far it works with all modes of the clamp meter including voltage, current, capacitance, and so on. It simply displays everything as a string.
Basic Use
To use the application you must first ensure that you have Python and pyqt6 installed. As long as those are installed and you have the requisite hardware (Bluetooth Low Energy capable) this should, in theory, function as long as the UUID and device name matches my unit.
Basic steps:
- Launch clamp_connect.py
- Turn on meter (wait 1-2 second)
- Press the connect button to turn on the wireless radio
- Click connect on the ClampConnect window
Connection Timeout and Troubleshooting:
The Bluetooth discovery period is just a hair over 10 seconds maximum. If nothing is shown on the display after this period of time try clicking connect again and monitor the terminal for feedback. Check the device name and UID matches the ones provided in case your unit differs. Once the program connects to the clamp meter you should also see the LED on the wireless radio flash blue indicating a connection has been established.
Process Flow
In general the process flow for this application is:
- Scan for devices.
- If device matches the name perform service discovery.
- If service matches UID of output, subscribe to characteristic update notifications.
When an event occurs a signal is emitted to trigger the asynchronous activities. These are the .connect methods following the standard signal/slot architecture.
Hardcoded Parameters
The three critical variables for this application to function are the following:
TARGET_DEVICE_NAME = "376FC"
TARGET_SERVICE_UUID = QBluetoothUuid("b6981800-7562-11e2-b50d-00163e46f8fe")
TARGET_CHARACTERISTIC_UUID = QBluetoothUuid("b6982901-7562-11e2-b50d-00163e46f8fe")
TARGET_DEVICE_NAME is the device name that is shown in a Bluetooth scan. This can also be shown on the mobile application and changed. If a device name differs from the set value here the application will not find the device. Other ways to connect include MAC address but I hope using the device name allows the program to work with more devices.
TARGET_SERVICE_UUID is the service that we will be looking for. This value was taken from the Bleak service discovery tool. Again, this must match your device as well.
TARGET_CHARACTERISTIC_UUID is the characteristic UUID that contains the data we want to extract.
The UUIDs are cast to a QBluetoothUuid. This method accepts a string input of the ID and will be consumed in other methods.
Received Data
Data is received when a notification event occurs. This triggers an event change signal which is emitted by the controller. The data is received as a QByteArray which needs to be decoded into a string.
This can be written to the Qt GUI element lineEdit with the following method:
self.lineEdit.setText(value.data().decode('utf-8'))
Happy coding!
Hopefully this example helps others get their foot in the door with this interface. All I ask is that its use includes attribution to help keep me motivated to produce additional articles and examples. If anyone wants to send me some other connectable devices to test and implement I would be stoked to produce some more examples!
Thanks for taking the time to read this article!!
Bonus Bluetooth Tips
In applications that are not so easy to find using tools such as this you can always use your Android mobile device to sniff packets and commands sent without having to reverse engineer an application. This can be done by enabling developer options on your device.
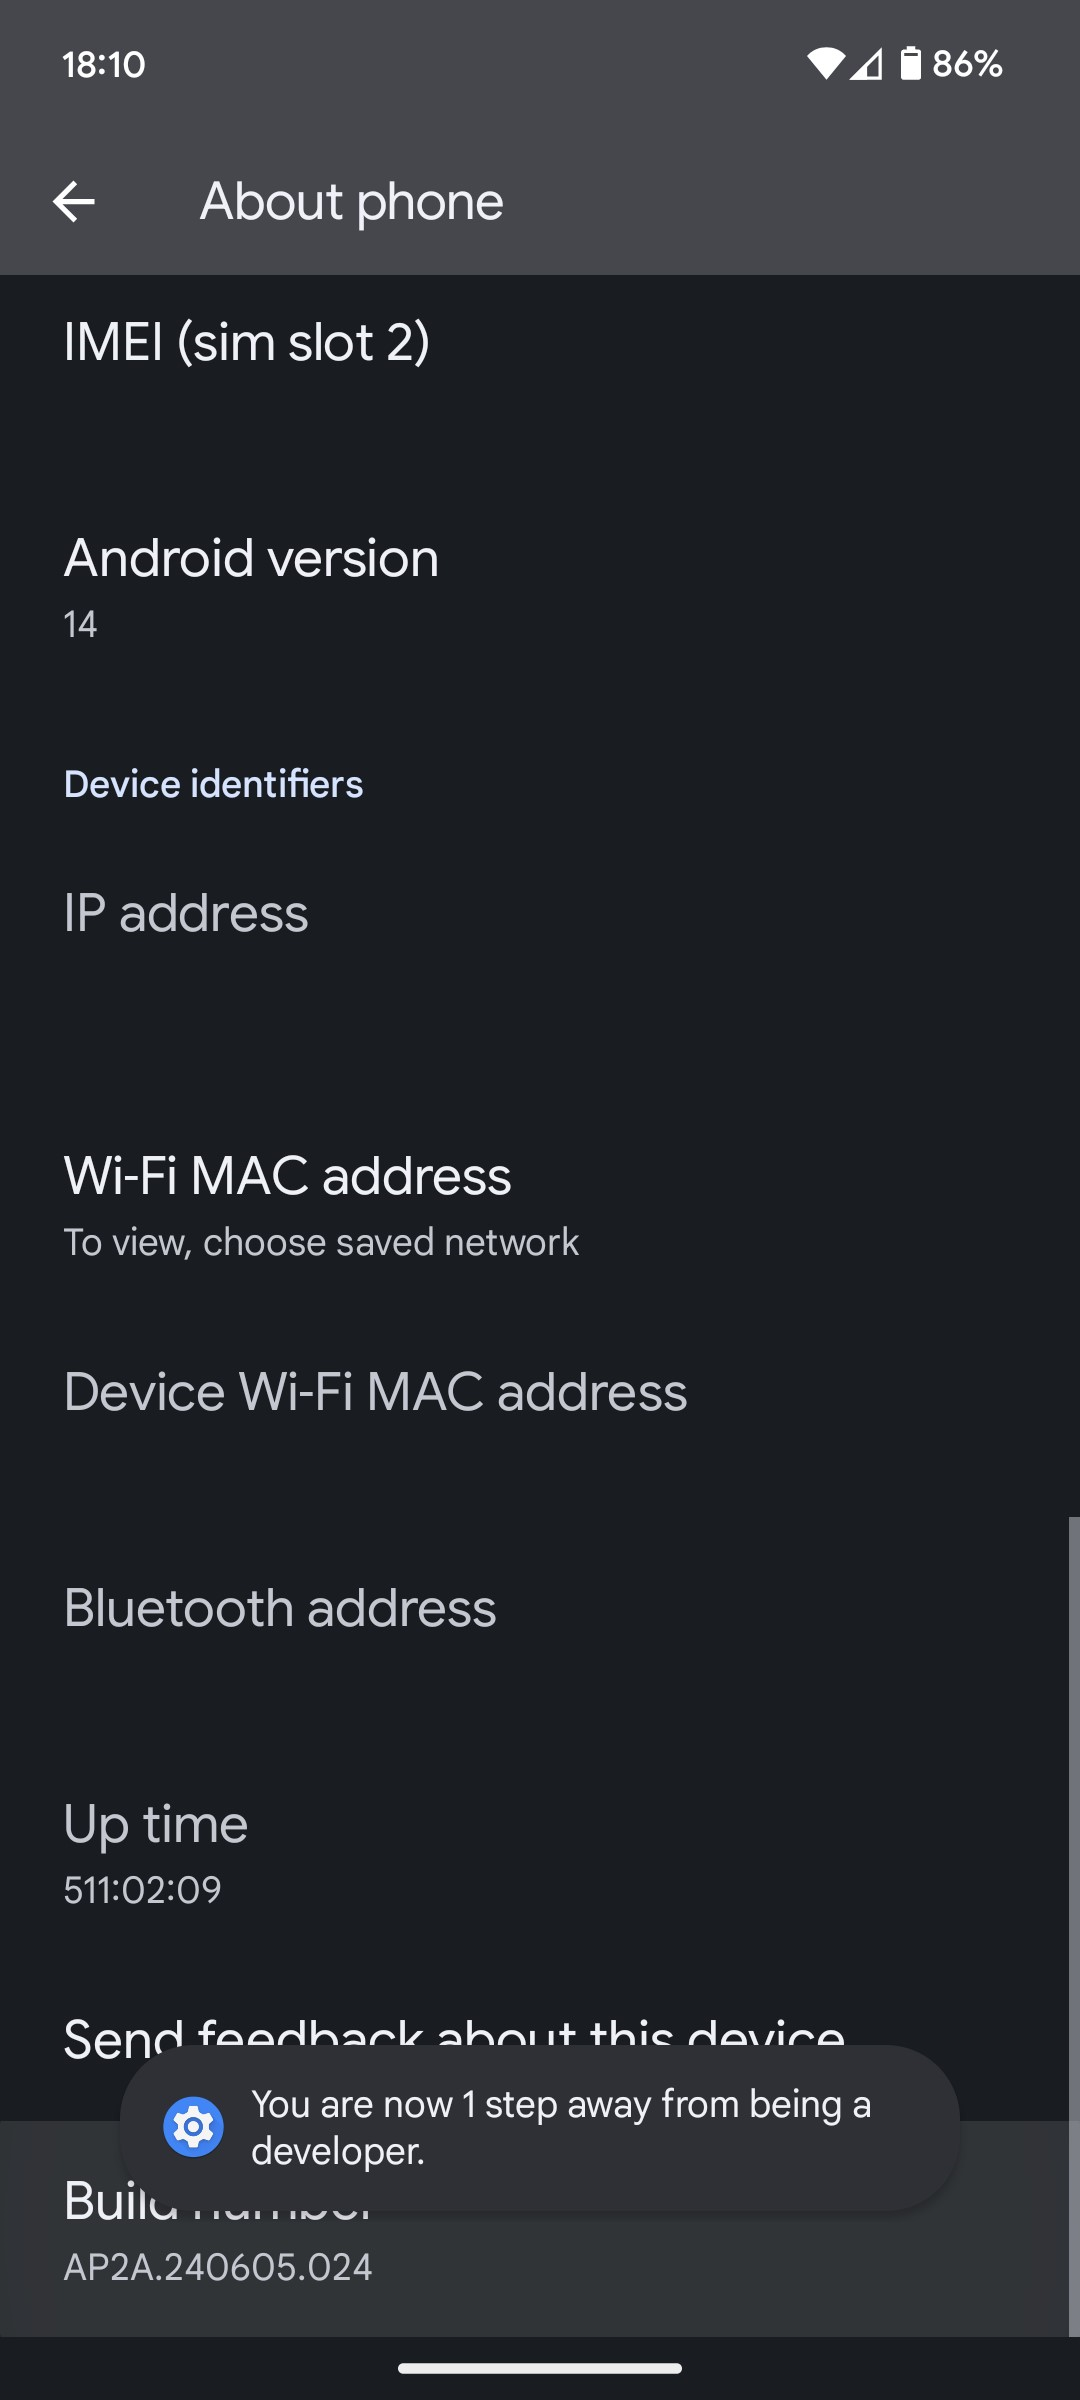
Enable Developer Options
On your Android phone navigate to “About Phone” in settings. Press “Build Number” about 7 times. You should see a countdown be displayed such as in the following example:
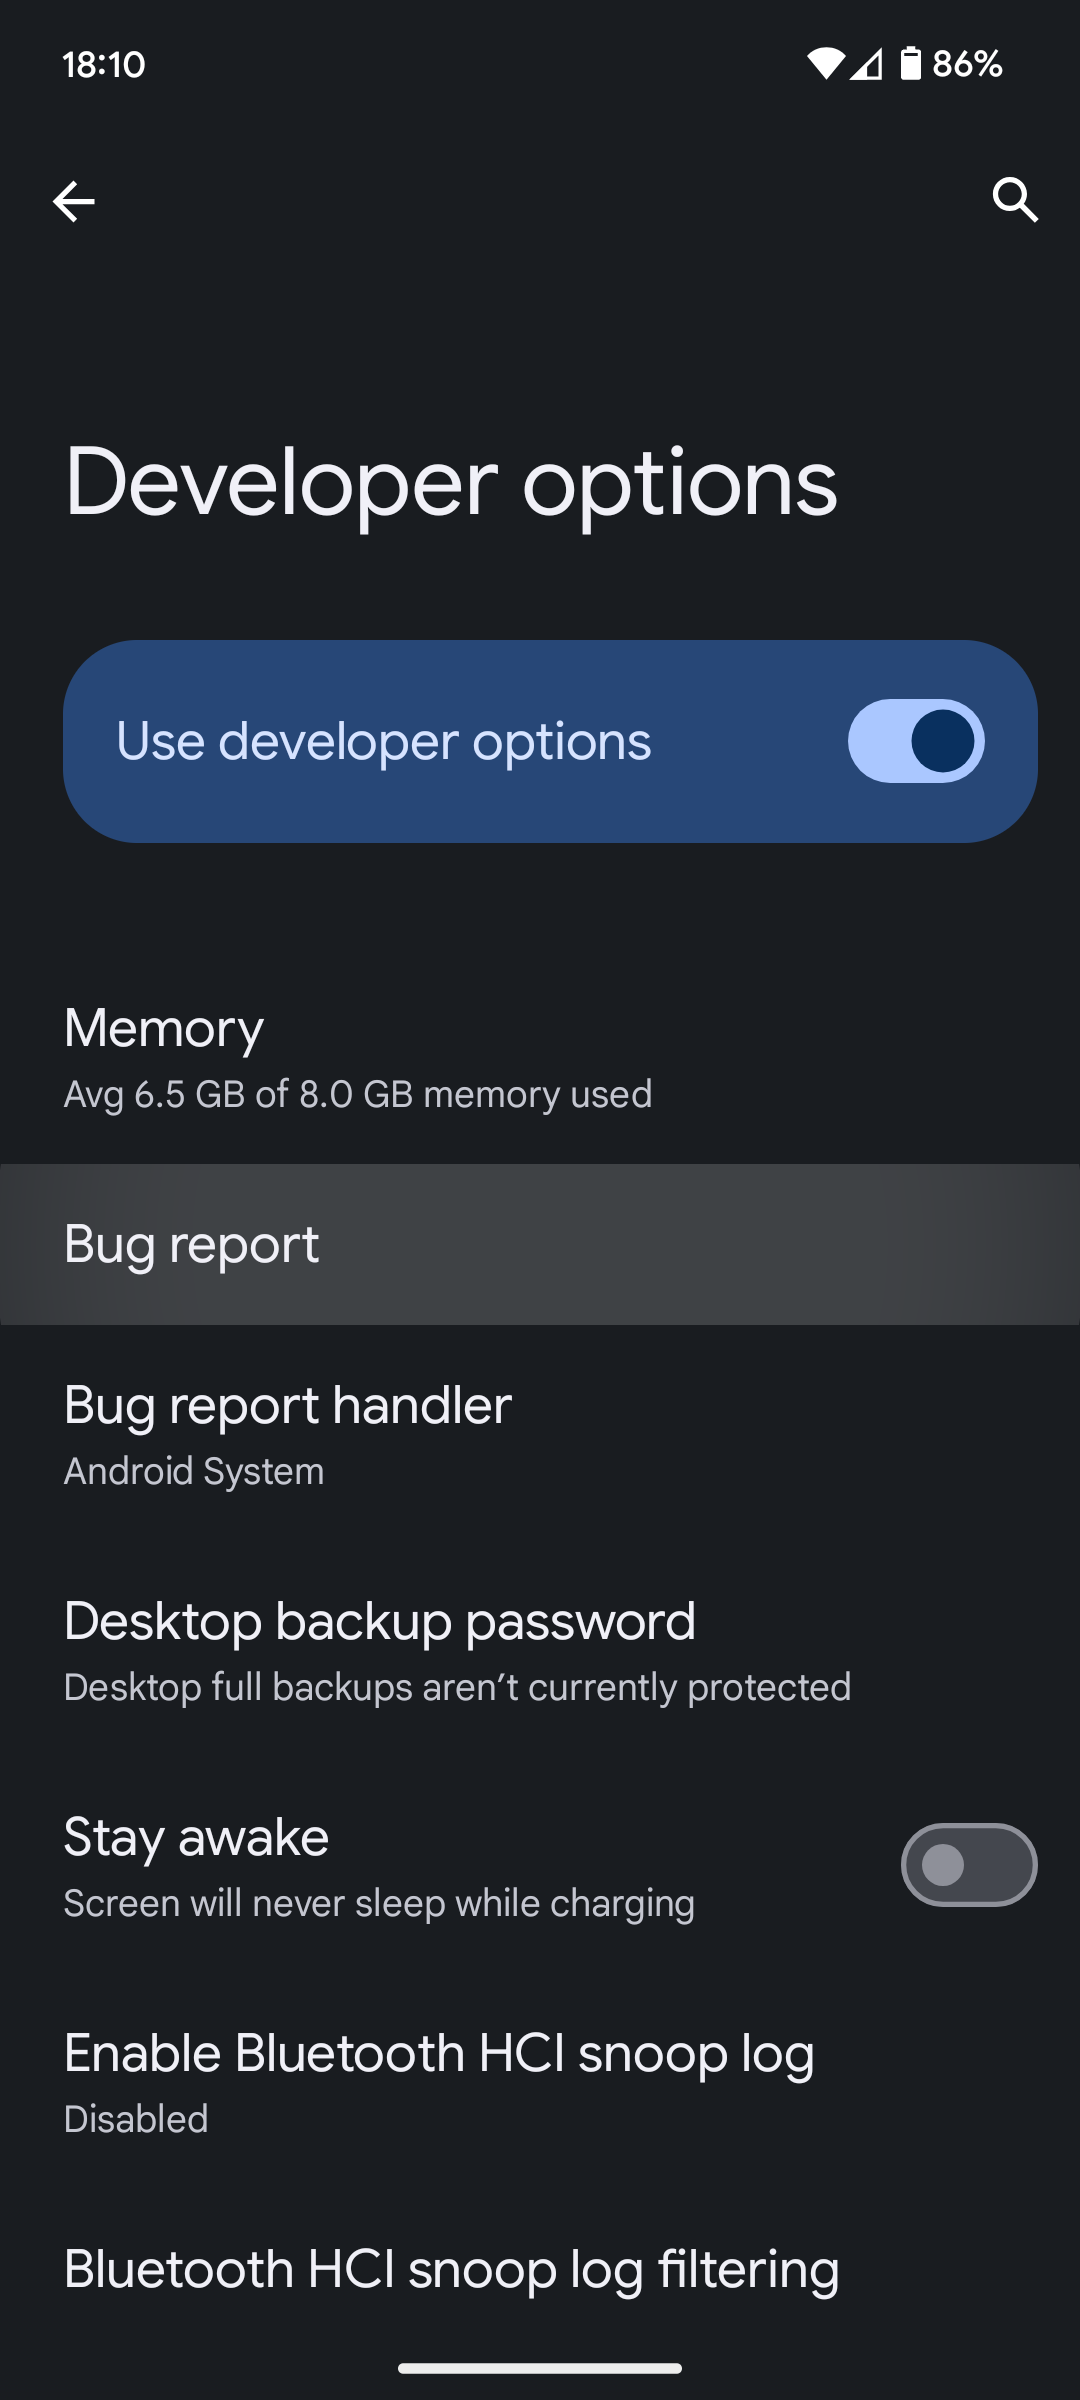
Enable Bluetooth Sniffing
Once developer options are enabled, open the developer options menu then you will find the option to enable Bluetooth sniffer.
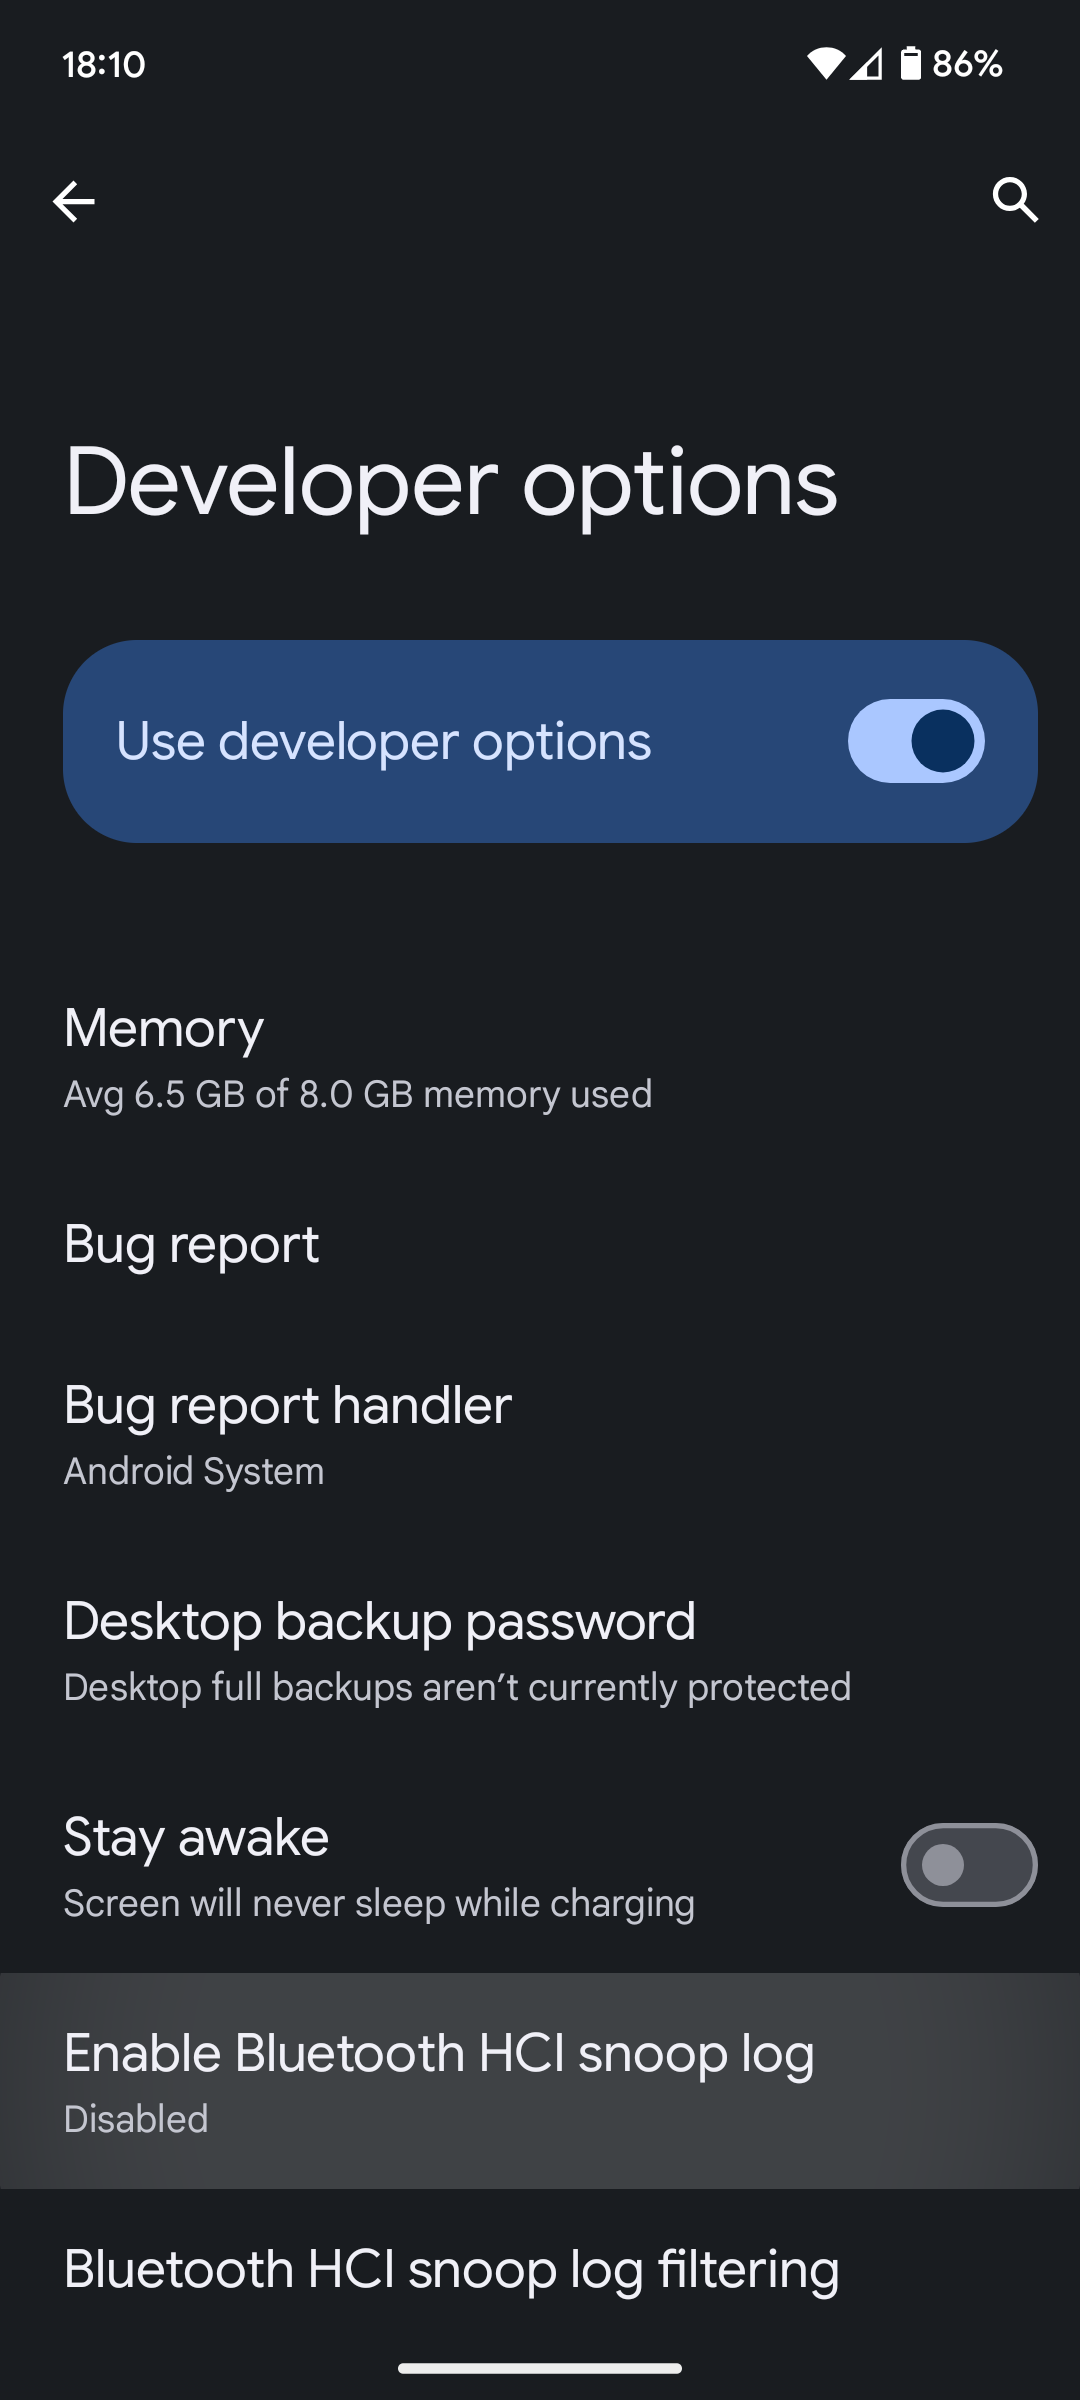
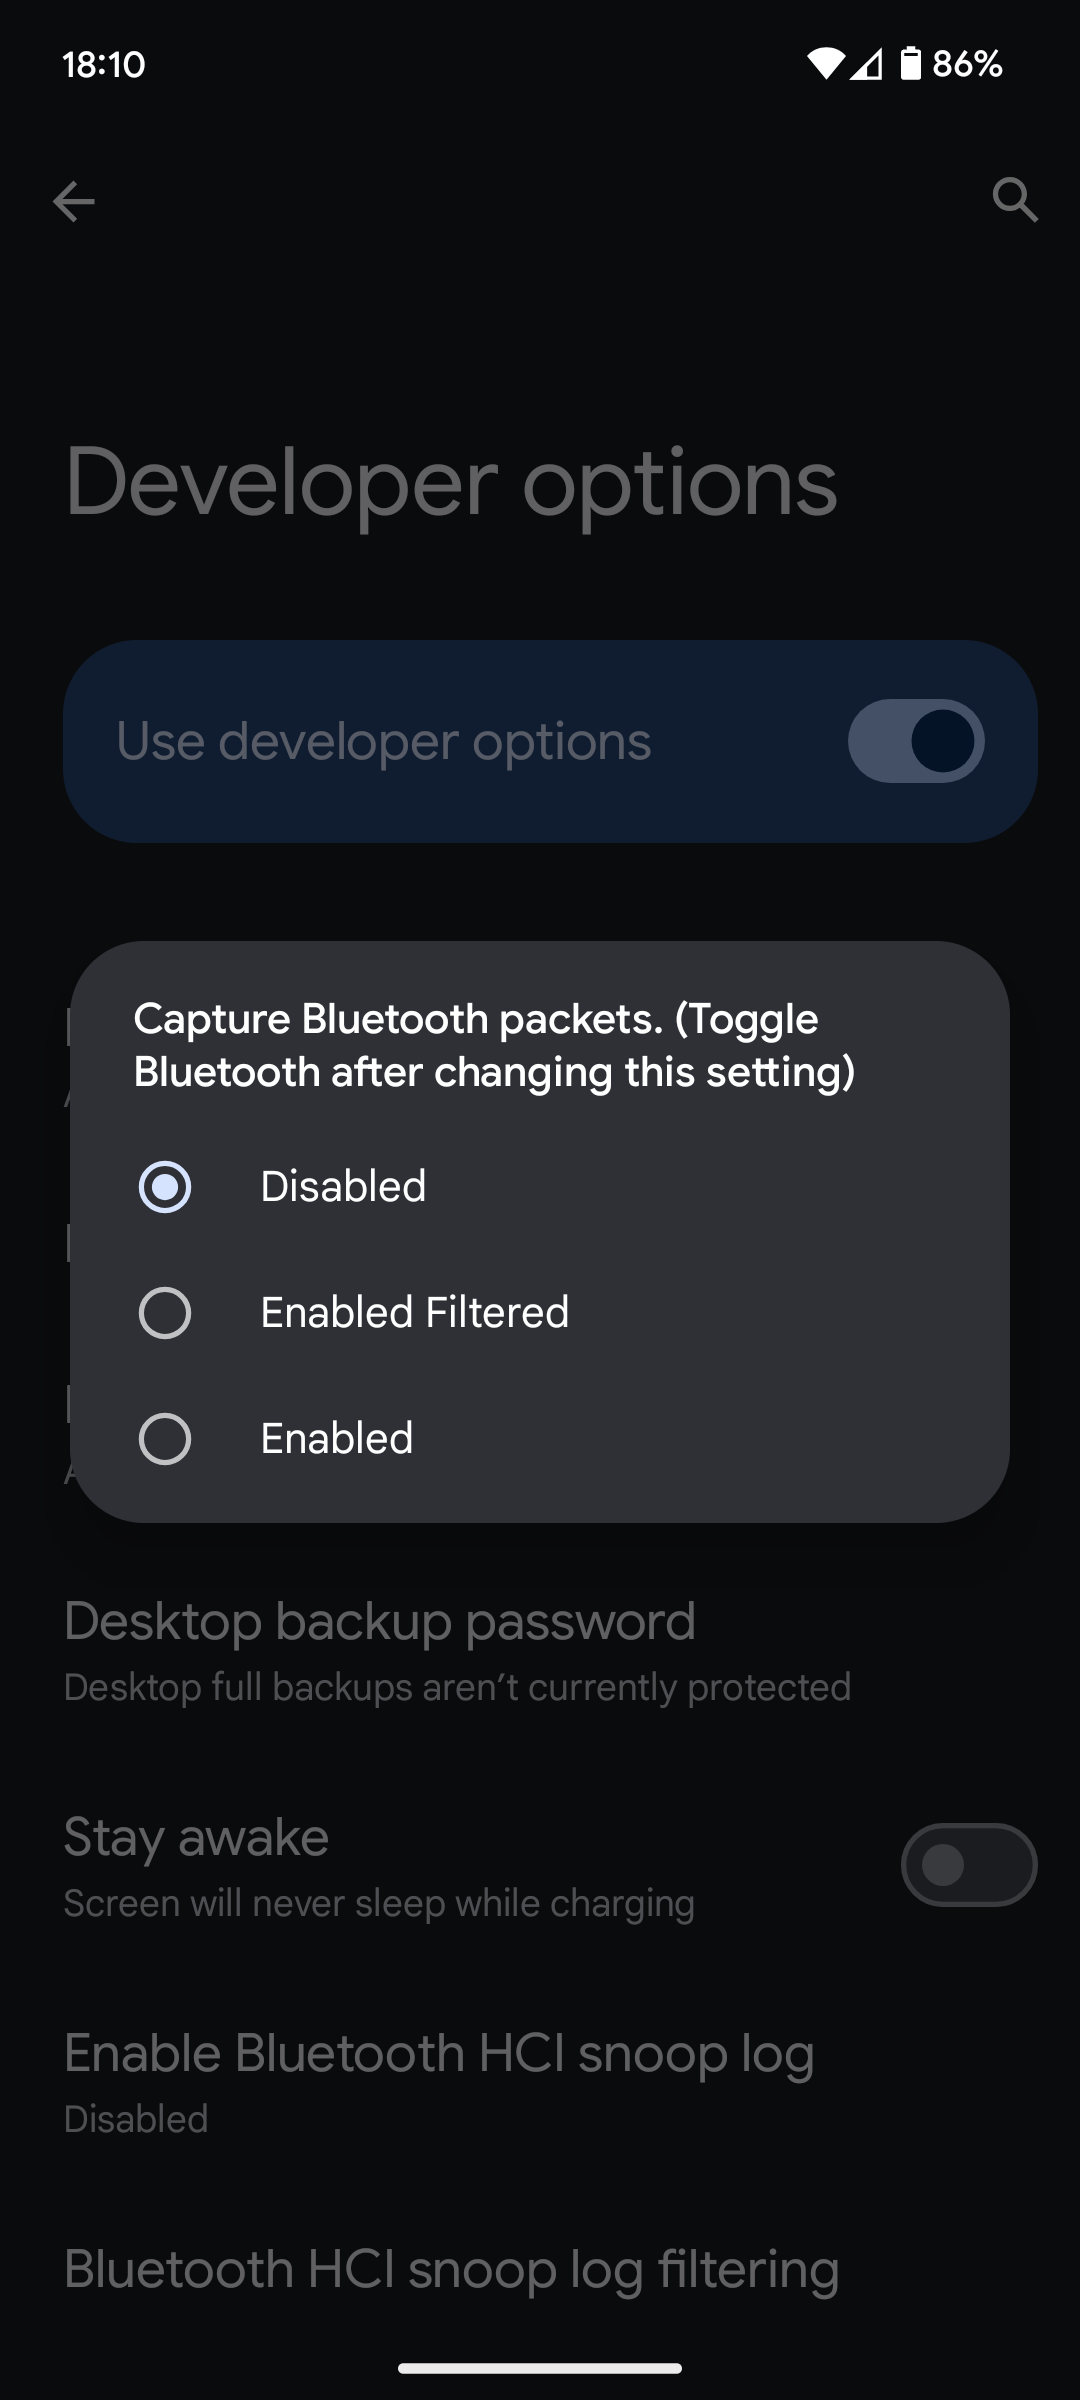
Select “Enabled” for all traffic to be recorded. Note that you need to restart Bluetooth after toggling to enable.
Export Logs
Once Bluetooth has been toggled you can now go do some device actions. Once you are ready to export your data simply tata a bug report. This will export a Bluetooth log file that can be opened with Wireshark. The filter “btatt” may be helpful to narrow down specific Bluetooth operations.
Action Shots
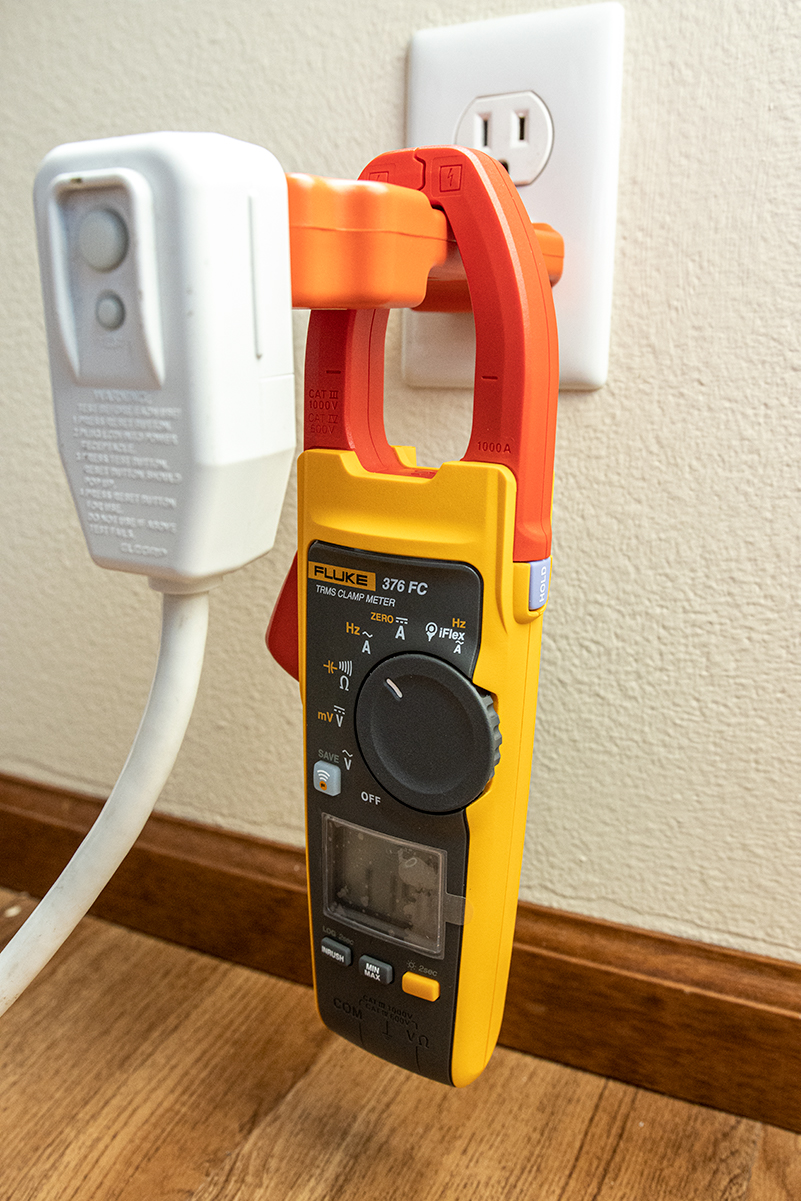
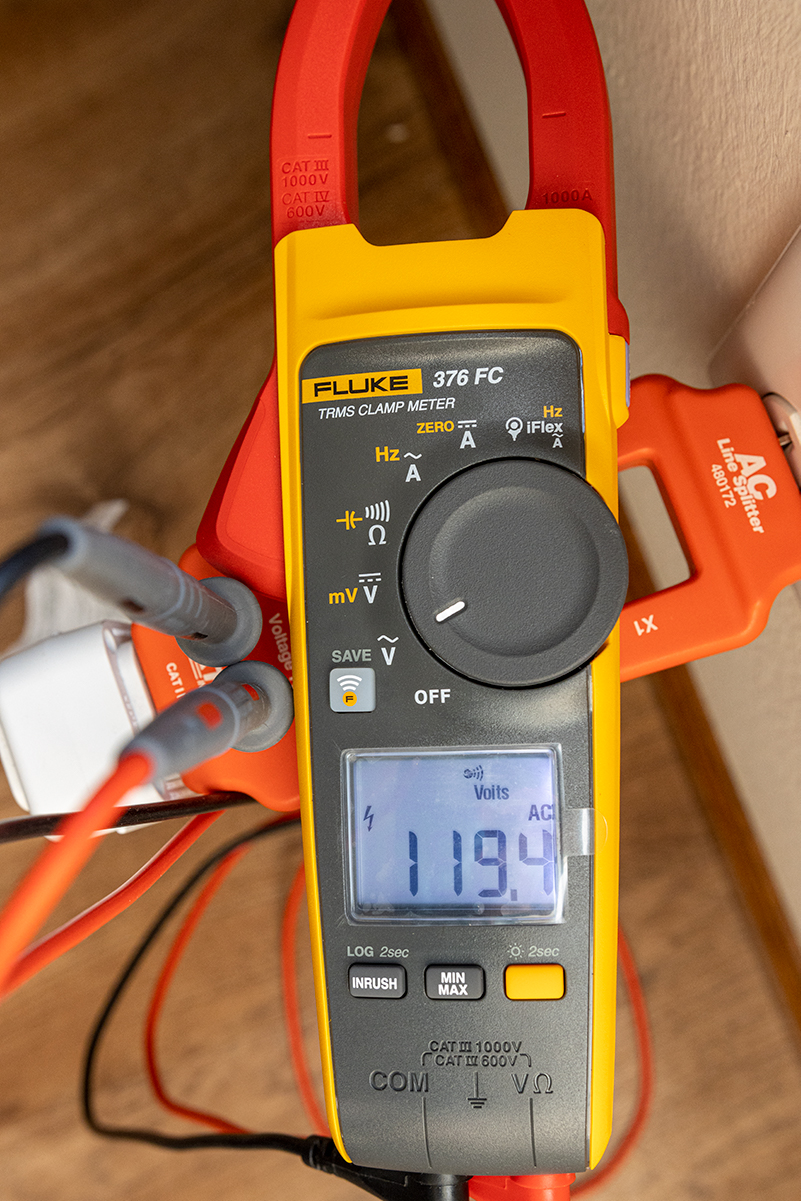
Measuring the current draw of a consumer portable air conditioning unit through a x10 line splitter.